
Get started with Labelme
Unofficial preview. Docsbook assembled this page from the public
wkentaro/labelmeREADME.mdandexamples/directory. It is not affiliated with, endorsed by, or maintained by the Labelme project. The official documentation lives at labelme.io/docs.
By the end of this page you will have Labelme installed, one polygon drawn over a sample image, and a .json file on disk containing that polygon.
Prerequisites#
- Python 3.12, 3.13 or 3.14 for Labelme v7.x. Older Python needs the v6.3.x maintenance line.
- A 64-bit macOS, Windows or Linux machine. Qt6 does not support older operating systems.
- One image file to annotate. The repository ships
examples/tutorial/apc2016_obj3.jpgif you clone it.
If you would rather not install Python or Qt at all, the standalone app is the other route.
pip install labelmeTo install the current main branch instead of the latest release:
pip install git+https://github.com/wkentaro/labelme.gitlabelme --versionThis prints the application name and version, then exits. If it does not, check the platform support table before anything else — the most common cause is a Python version outside the supported range.
labelme apc2016_obj3.jpgThe Labelme window opens with the image loaded. Passing a directory instead of a file loads every image in it and gives you a file list to move through:
labelme data_annotated/Choose a shape tool, click around the object to place vertices, and close the polygon. Labelme then asks for a label — the name of the thing you just outlined, such as person or bottle.
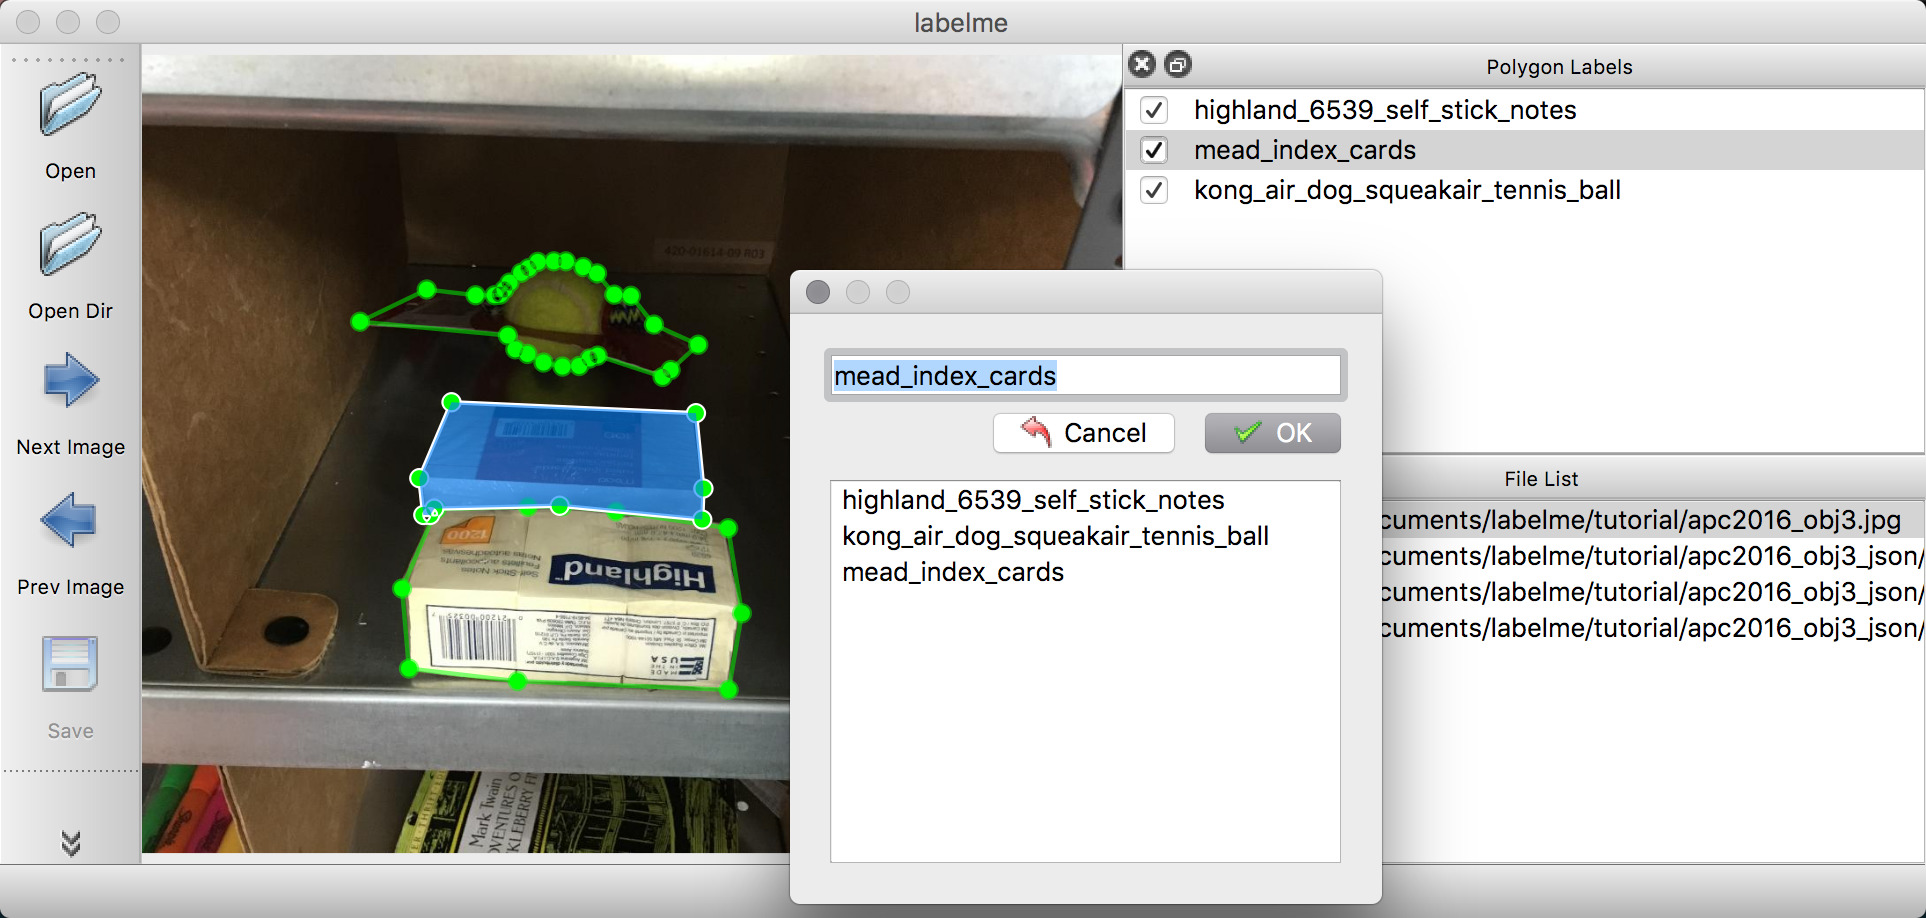
Labelme auto-saves by default, writing apc2016_obj3.json beside the image. Send annotations somewhere else with --output:
labelme apc2016_obj3.jpg --output annotations/A path ending in .json writes a single annotation to that exact file, and only one image can be annotated that way. Any other path is treated as a directory, and each file inside is named after the image it belongs to.
Letting annotators type labels freely produces person, Person and persn in the same dataset. Pass the list up front instead:
labelme data_annotated/ --labels labels.txtAdd --validate-label exact to reject anything not on the list. See the command line reference for the full set of flags.
What Labelme wrote#
The JSON file holds the image dimensions, its path, and a list of shapes. Each shape carries its label, its points, its shape_type, and an optional group_id:
{
  "version": "4.0.0",
  "flags": {},
  "shapes": [
    {
      "label": "shelf",
      "points": [[7.94, 80.76], [171.94, 714.76], [968.94, 733.76]],
      "group_id": null,
      "shape_type": "polygon",
      "flags": {}
    }
  ],
  "imagePath": "apc2016_obj3.jpg",
  "imageHeight": 907,
  "imageWidth": 1210
}
The annotation JSON reference documents every field.
Next steps#
- Core concepts — how shapes, labels and flags relate to each other
- Annotate one image — the same tutorial with the visualisation and conversion scripts
- Export to COCO — turn a folder of JSON files into a training dataset