
Annotate a single image
Unofficial preview. Docsbook assembled this page from the public
wkentaro/labelmeREADME.mdandexamples/directory. It is not affiliated with, endorsed by, or maintained by the Labelme project. The official documentation lives at labelme.io/docs.
This is the single-image walkthrough from examples/tutorial. It takes one photo through annotation, visual inspection, and conversion into the files a training pipeline consumes. Run the commands from inside examples/tutorial in a clone of the repository.
Annotate the image#
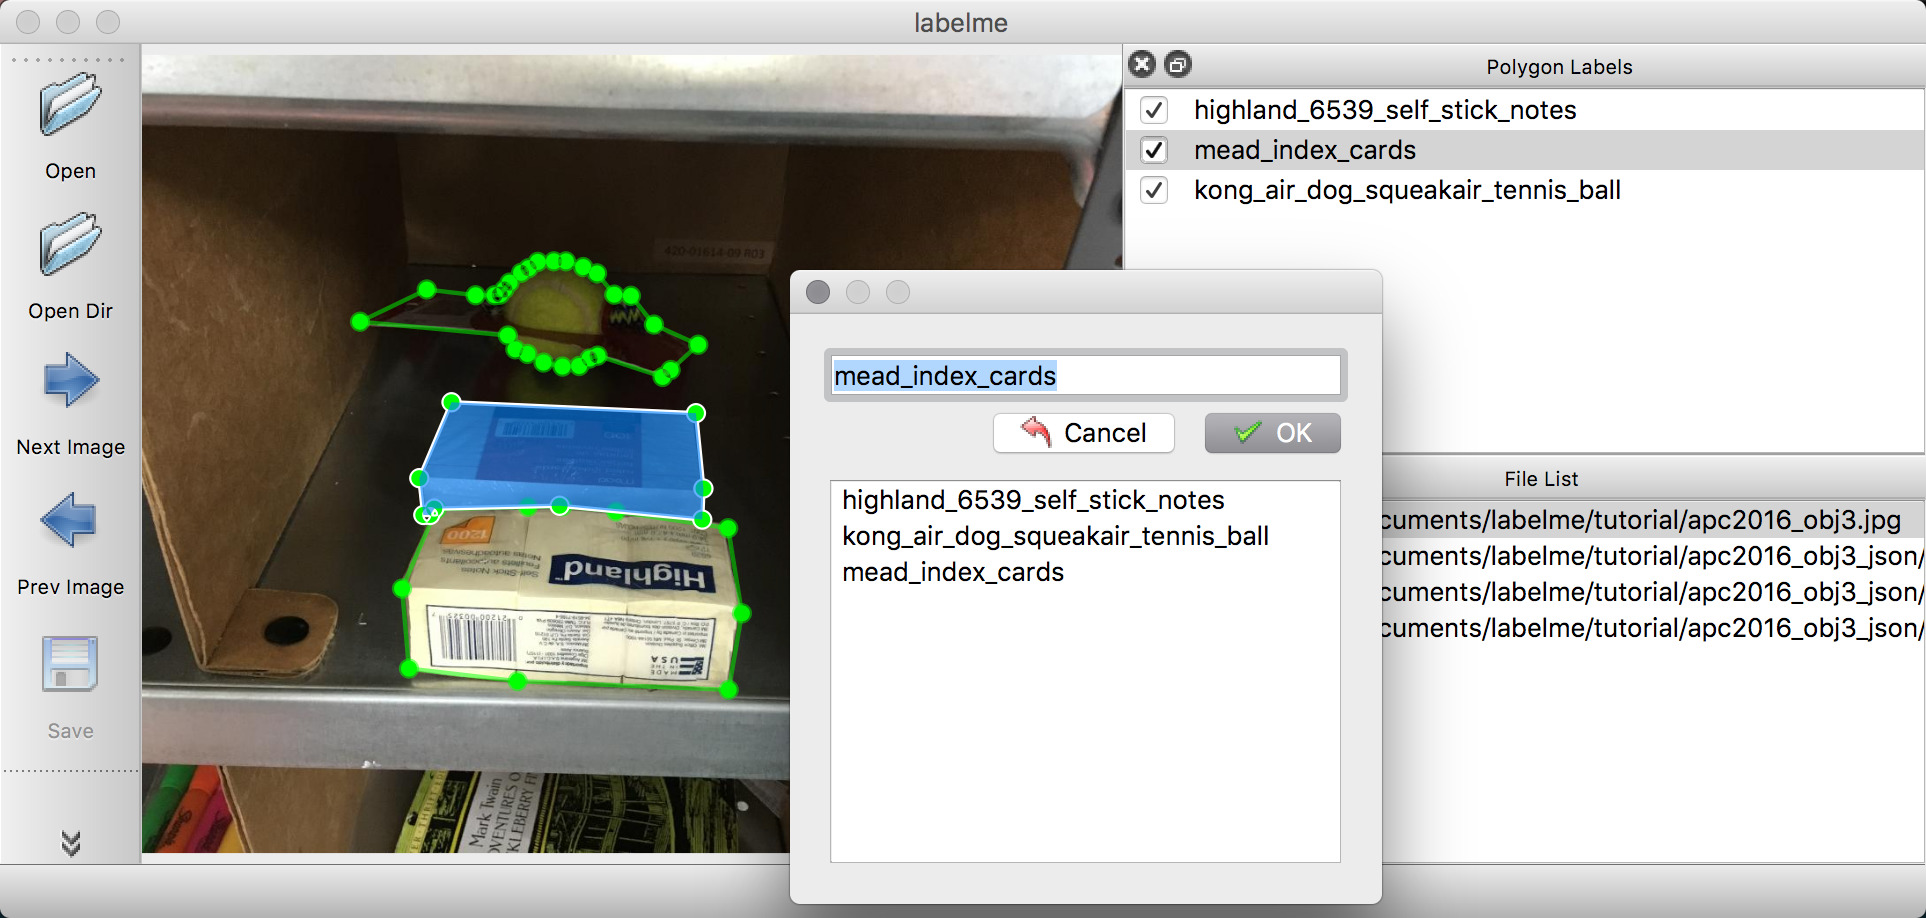
labelme apc2016_obj3.jpgDraw a shape around each object and give it a label. Labelme writes apc2016_obj3.json beside the image.
Check what you saved#
Reading raw JSON tells you little about whether the polygons landed where you meant. Draw them back over the image instead:
./draw_json.py apc2016_obj3.json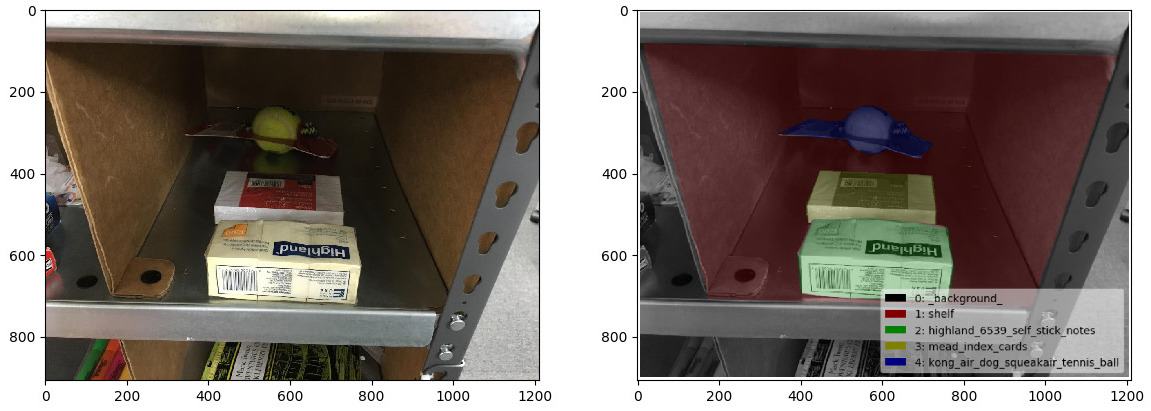
Convert to a dataset#
./export_json.py apc2016_obj3.jsonThis generates four standard files from the single JSON:
| File | What it holds |
|---|---|
img.png |
The image itself |
label.png |
A uint8 label image, one class index per pixel |
label_viz.png |
A colourised visualisation of label.png |
label_names.txt |
The label name for each value in label.png |
Inspect the label PNG#
label.png looks almost black when opened normally, because its pixel values are class indices such as 0, 1, 2, 3 rather than brightnesses. Render it with the helper script:
./draw_label_png.py apc2016_obj3/label.png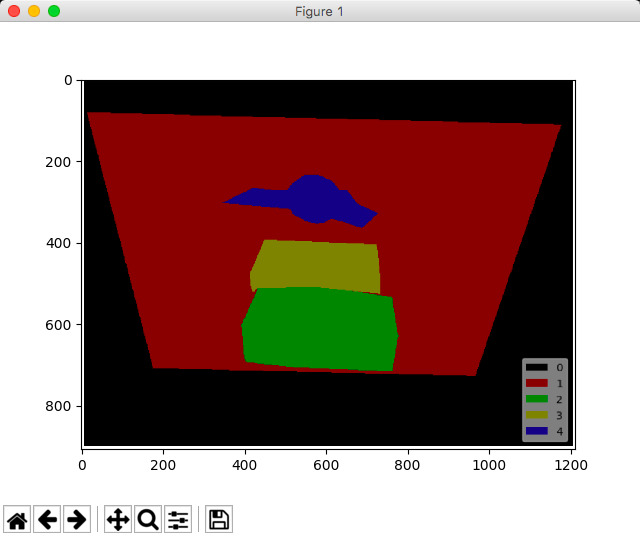
Loading it in code has the same trap — use PIL.Image.open, described in reading annotations in Python.
Related#
- Core concepts — what a shape, a label and a flag are
- Bounding box detection — the same flow with rectangles
- Annotation JSON reference — the file you just produced