
Build an instance segmentation dataset
Unofficial preview. Docsbook assembled this page from the public
wkentaro/labelmeREADME.mdandexamples/directory. It is not affiliated with, endorsed by, or maintained by the Labelme project. The official documentation lives at labelme.io/docs.
Instance segmentation keeps objects apart. Three people standing together are three separate masks, not one person region. This is the examples/instance_segmentation workflow, and it is the only one that exports to both Pascal VOC and COCO.
Annotate the directory#
labelme data_annotated --labels labels.txt --validate-label exact \
  --config '{shape_color: {mode: auto, auto: {shift: -2}}}'
To let annotators mark occlusion and truncation while they draw, add per-label flags:
labelme data_annotated --labels labels.txt \
  --label-flags '{.*: [occluded, truncated], person: [male]}'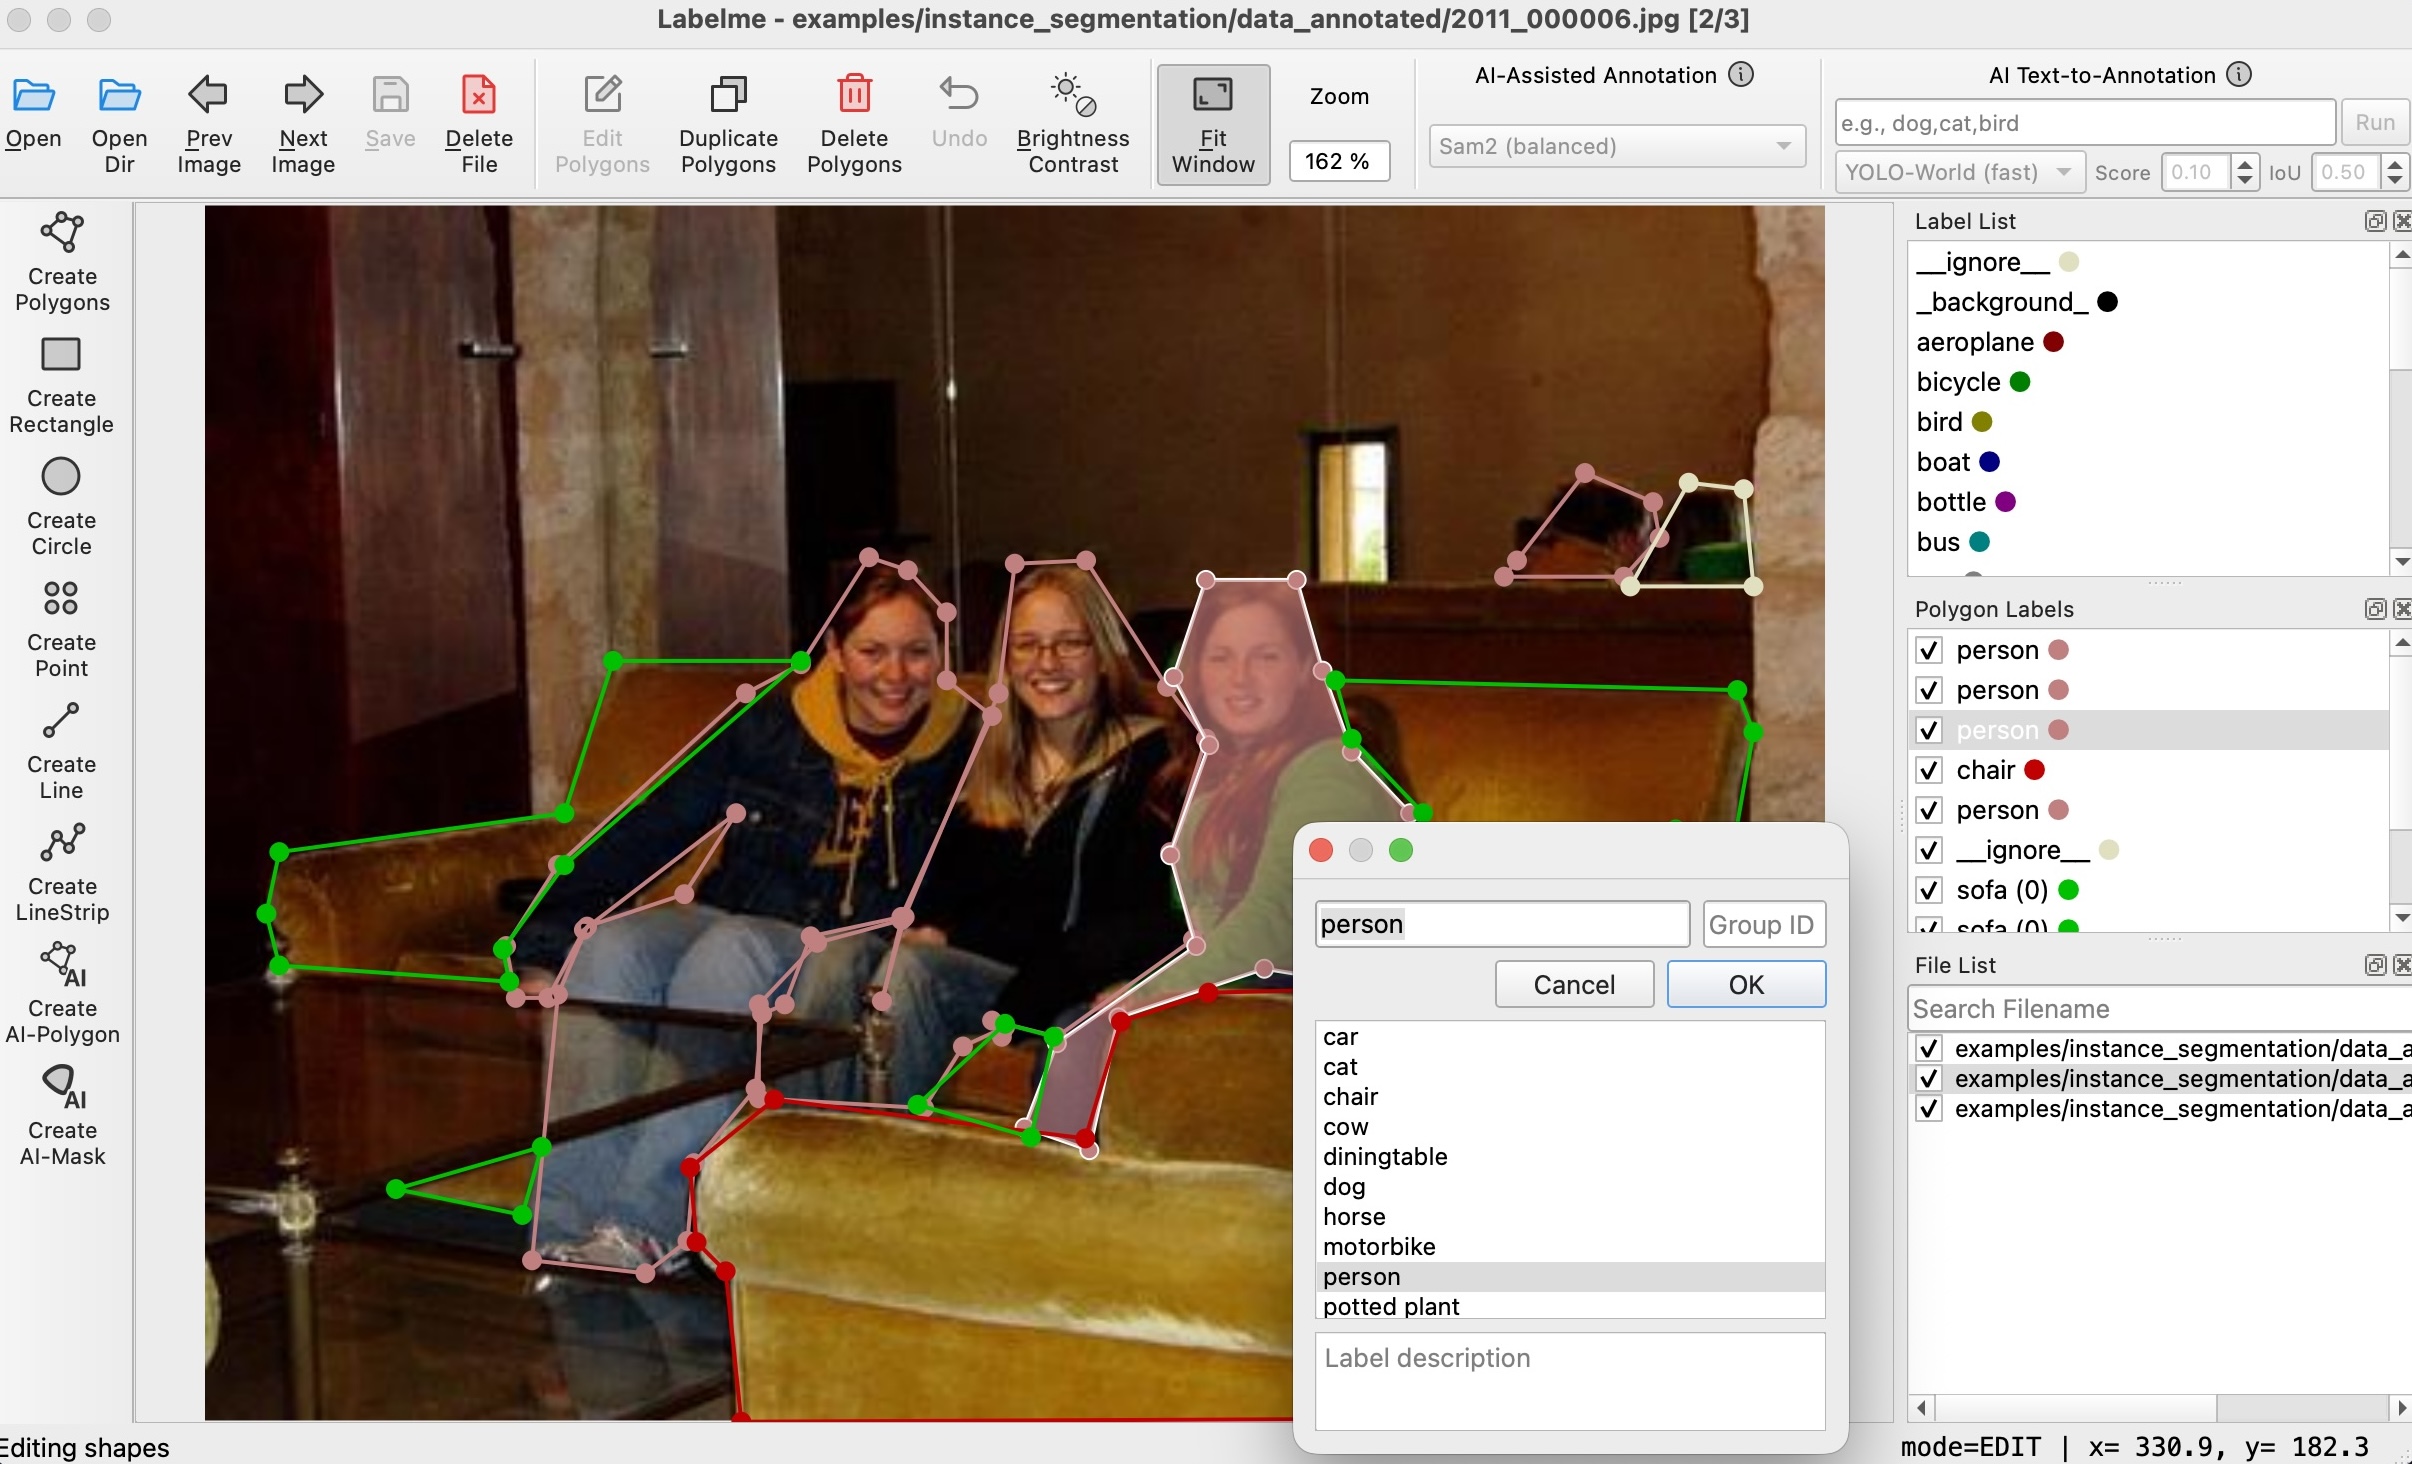
Export to Pascal VOC#
./labelme2voc.py data_annotated data_dataset_voc --labels labels.txtWithout --noobject, the script writes both the class outputs and the per-object ones:
| Directory | What it holds |
|---|---|
JPEGImages |
The source images |
SegmentationClass, SegmentationClassNpy |
Class masks, PNG and numpy |
SegmentationClassVisualization |
Colourised class masks |
SegmentationObject, SegmentationObjectNpy |
Per-instance masks, PNG and numpy |
SegmentationObjectVisualization |
Colourised instance masks |
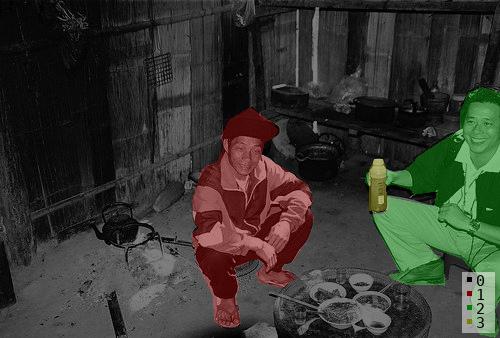
The class and object visualisations are the check: if two touching objects share one colour in the object mask, they were annotated as one instance.
Export to COCO#
./labelme2coco.py data_annotated data_dataset_coco --labels labels.txtThis produces a data_dataset_coco/JPEGImages directory and a single data_dataset_coco/annotations.json. See export to COCO for what that file contains and how loaders expect it laid out.
Related#
- Semantic segmentation — when object identity does not matter
- Export to COCO
- Export to Pascal VOC